



You can put in and take care of a heterogeneous vinyl floor by doing careful steps. These steps are preparation, acclimation, layout, using adhesive, installation, trimming, seaming, cleaning, and regular maintenance. Each step helps keep the floor strong and looking good. If you do all these steps, your floor can last 10 to 20 years, as shown below:
| Flooring Type | Average Lifespan (Years) |
|---|---|
| Sheet Vinyl | 10 to 20 |
| Vinyl Tiles (VCT) | 10 to 15 |
| LVP | 15 to 25 |
Doing it yourself saves money but has some risks. You get more control and feel proud, but mistakes can cost more money.
Key Takeaways
- Make sure the subfloor is clean, dry, and flat. This helps stop problems like peeling and gaps later.
- Let the vinyl flooring sit in the room for 48 hours before you install it. This lets the material get used to the room’s temperature and humidity.
- Use the correct tools and follow the manufacturer’s directions for putting on adhesive. This makes the floor stick well and stops bubbles from forming.
- Clean your vinyl floor often with a pH-neutral cleaner to keep it looking nice. Do not use strong chemicals because they can hurt the finish.
- Fix small damages right away with easy repairs. Use a tennis ball for light scratches or a repair kit for deeper marks.
Preparation for Heterogeneous Vinyl Floor
Subfloor Check
Check the subfloor before you start. Look for wet spots, bumps, and dirt. Wet spots can make vinyl planks bend. Bumpy floors can cause gaps or moving pieces. Clean and make the floor flat to stop problems later. If you skip this, glue might not stick. Mold can grow, and cracks can form. The vinyl might peel up or not stay down. Make sure the subfloor is dry, flat, and clean.
Tip: Use a moisture meter to find hidden wet spots. Fill cracks or holes with patch compound.
Acclimation Process
Let the heterogeneous vinyl sheet flooring get used to the room. Put the flooring in the room where it will go. Keep the room between 65°F and 85°F for two days. Humidity should be between 35% and 75%. Take the flooring out of its box so it can adjust. Lay the sheets flat or stack them loosely. This stops the flooring from changing size later.
Note: Keep the room and flooring at the right temperature and humidity during this step and when you install.
Tools and Materials
Get all your tools and materials before you start. You will need:
- Utility knife
- Tape measure
- Straightedge or ruler
- Notched trowel (for adhesive)
- Seam roller
- Chalk line
- Moisture meter
- Patch compound
- Cleaning supplies
Having the right tools makes things easier and helps you not make mistakes. Always read the manufacturer’s instructions for special steps.
Installation Steps for Heterogeneous Vinyl Sheet Flooring
Layout Planning
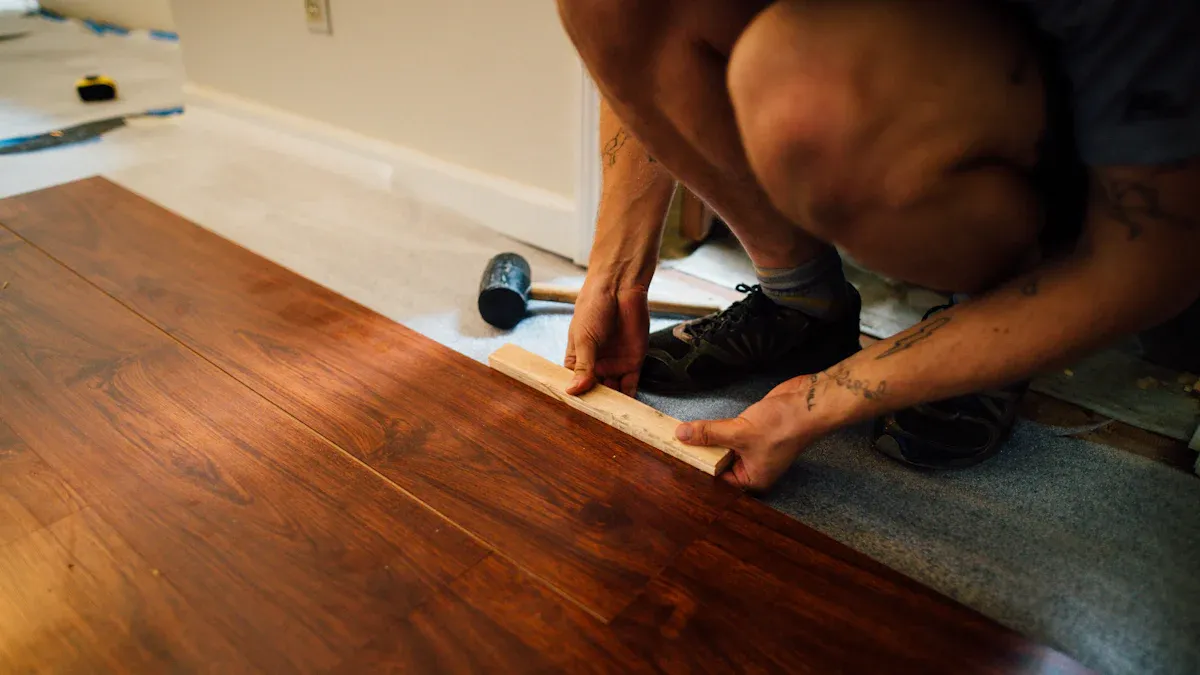
Plan your layout before you start. Good planning saves material and looks nice. Measure your room and mark the center. This helps balance the sheets. You will not have tiny pieces at the edges. Pick a layout pattern you like. Each pattern looks different and wastes different amounts.
| Layout Pattern | Pros | Cons |
|---|---|---|
| Straight Lay | Easy to install, low material waste, visually balanced | N/A |
| Diagonal Lay | Makes rooms appear wider, adds movement | Slightly more cutting and waste compared to straight lay |
| Herringbone Pattern | Adds depth and texture, visually lengthens the space | Requires accurate planning and a skilled installer |
Tip: Match your layout to the pattern and style of your lvt or vinyl plank flooring. This keeps your home looking the same.
Adhesive Application
Follow the manufacturer’s rules for adhesive. Use the right adhesive for your floor. Read the instructions on the container. Spread adhesive with a notched trowel. Do not use too much. Too much can leak through seams. Put adhesive on small areas at a time. This stops it from drying too fast.
| Type of Flooring | Recommended Traffic Restriction |
|---|---|
| Heterogeneous Vinyl Flooring | 24 hours |
| Fiberglass-Backed Sheet Vinyl | 8 hours |
Note: Stay off the floor for 24 hours after installing. This helps the adhesive stick and stops bubbles.
Laying the Flooring
Start laying sheets from the center of the room. Press each sheet down hard. This stops bubbles and uneven spots. Go slow and smooth the sheets as you work. Use a seam roller to press the flooring into the adhesive. Make sure each piece fits tightly. If you use lvt or vinyl plank flooring, keep seams straight and match patterns.
Step-by-step installation process:
- Clean, dry, and level the subfloor.
- Let the flooring get used to the room for 48 hours.
- Plan your layout and start in the center.
- Put on adhesive as the manufacturer says.
- Lay the flooring and press down to stop bubbles.
- Trim and fit the edges.
- Seam and weld if needed.
- Clean the floor and remove extra adhesive.
- Add baseboards or transition strips.
- Check your work for quality.
Alert: Do not hurry. Take your time for a smooth finish.
Trimming and Fitting
Trim the flooring to fit around walls and things. Let the material relax face up for 24 hours before you cut. Cut the selvage edges to fix any bent or squished spots. Use a straight edge and underscribe for a good fit or double cut. Make sure seam gaps are less than 1/32 inch. For heavy materials, use recess scribing and cut a straight edge on the first piece. After fitting, roll seams with a hand roller and remove rough edges.
Best practices for trimming and fitting:
- Let materials relax for 24 hours.
- Trim selvage edges by 1/4″ to 1/2″.
- Use a straight edge for seam edges.
- Keep seam gaps under 1/32″.
- Use recess scribing for heavy materials.
- Roll seams and remove rough spots.
Tip: Careful trimming and fitting stop weak welds and gaps.
Seaming and Welding
Seaming and welding make the floor strong and waterproof. Use the manufacturer’s advice for welding liquid or heat-welded seams. Prepare the seam edges well. Make seams tight and straight. Put on welding liquid or use a heat gun as told. Roll the seams to press them down. Remove extra welding material for a neat look.
Note: Good seaming and welding keep water out and stop damage.
Baseboards and Finishing
Finish by putting in baseboards and transition strips. Pick strips that match your floor for a nice look. You can use metal or wood-look strips for style. Put baseboards tight against the floor to cover the edges. This makes your floor look clean and finished.
- Pick transition strips for a pro finish.
- Match strip finishes to your floor style.
- Put in baseboards to cover edges and stop gaps.
Tip: Finishing touches make your floor look great and protect the edges.
Cleaning and Maintenance
Initial Cleaning
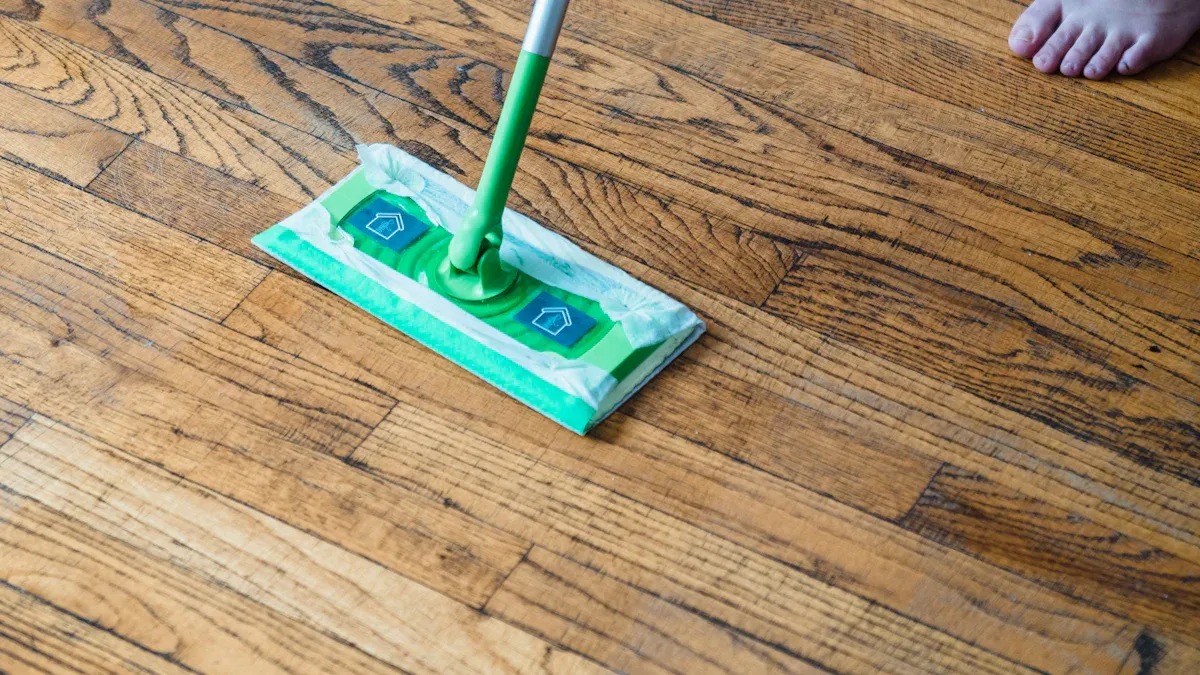
Wait at least 72 hours before wet cleaning after you install the floor. This gives the adhesive time to dry and makes the floor stronger. Do not wash or scrub the floor for the first five days. You can sweep or vacuum gently to get rid of dust. When it is okay to clean, use a damp mop with Armstrong Flooring Once ’n Done Resilient & Ceramic Floor Cleaner. This cleaner does not leave any sticky stuff behind and keeps your floor looking nice.
Tip: Always follow what the manufacturer says about cleaning and taking care of your floor.
Regular Maintenance
Cleaning your heterogeneous vinyl sheet flooring often keeps it looking good. Sweep or use a microfiber mop every day to pick up dirt. For a deeper clean, use a pH-neutral floor cleaner or mix white vinegar with water. Rubbing alcohol is good for cleaning tough stains. Do not use wax-based cleaners, oil soaps, or ammonia products because they can hurt the floor’s finish.
- Microfiber mop or soft broom
- pH-neutral floor cleaner
- White vinegar and water mix
- Rubbing alcohol for stains
Note: In busy areas, clean at least once a day and mop after people leave. Get a professional scrub every 3 to 6 months as part of your care routine.
Preventing Damage
You can stop damage by following easy steps. Sweep or vacuum every day and mop once a week with a pH-neutral cleaner. Clean up spills right away so they do not stain. Lift heavy furniture instead of dragging it. Put felt tips on chair legs and mats under rolling chairs. Use carpets or boards under heavy things to keep your floor safe.
- Sweep or vacuum daily
- Mop once a week
- Clean spills fast
- Use felt tips and mats for furniture
Minor Repairs
If you see scratches or tears, you can fix them with simple steps. First, clean the spot to see the damage better. For small scratches, rub with a tennis ball or a white eraser. Use a scratch repair kit or vinyl floor sealant for deeper marks. If the damage is big, replace the plank or tile that is hurt.
| Technique | Description |
|---|---|
| Cleaning | Clean with vinyl floor cleaner or vinegar mix. |
| Tennis Ball Trick | Rub out light scratches with a tennis ball. |
| Pencil Eraser | Gently rub with a white eraser. |
| Scratch Repair Kits | Fill and cover bigger scratches. |
| Vinyl Floor Sealants | Put on sealant to fix the surface. |
| Vinyl Floor Patch Kits | Fill deep scratches or holes with glue and color. |
| Replacement of Damaged Planks | Take out and put in a new plank or tile. |
Tip: Always look at how deep the scratch is before you pick a way to fix it.
Troubleshooting Installation Issues
Bubbles and Lifting
You may notice bubbles or lifting after you finish the installation. These problems often happen when air gets trapped or the adhesive does not stick well. You can prevent bubbles by smoothing the vinyl and spreading adhesive evenly. Always let the vinyl acclimate to the room for at least 24 hours before you start. Use a high-quality adhesive and keep the subfloor dry. If you see a bubble, place a towel over it and use a hairdryer or iron on low heat. Move the heat source slowly and press down firmly. For lifting, gently raise the affected area with a putty knife. Spread new adhesive with a notched trowel, then press the vinyl back and weigh it down until dry. Regular cleaning helps keep moisture away from the heterogeneous vinyl floor.
Common installation issues you may face:
- Stains and discoloration from spills or sunlight.
- Dents and scratches from furniture or dirt.
- Peeling and cracking due to old adhesive or aging.
- Substrate trouble from uneven or moist subfloors.
Tip: Always check for moisture before you install. This step helps you avoid bubbles and lifting later.
Seams and Gaps
Seams and gaps can appear if the vinyl does not fit tightly or if the subfloor is uneven. You should clean the area first. Warm the vinyl with a heat gun or hairdryer. Push the edges together gently. If the gap remains, apply adhesive and trim any extra material for a snug fit. Let the adhesive dry before you walk on the area. Seal the edges with a vinyl seam sealer to stop future gaps. You can prevent seam separation by using professional-grade adhesives, preparing the subfloor, and controlling temperature and humidity. Regular inspection helps you catch problems early. Install a moisture barrier to protect against water damage.
| Step | Action |
|---|---|
| 1. Clean Area | Remove dust and debris |
| 2. Apply Heat | Use heat gun or hairdryer |
| 3. Reposition Vinyl | Push edges together |
| 4. Add Adhesive | Secure edges if needed |
| 5. Trim Material | Cut for a tight fit |
| 6. Dry Time | Wait before walking on repaired area |
| 7. Seal Edges | Use seam sealer for protection |
Note: A final inspection after repairs ensures your seams stay tight and your floor looks smooth.
Scratches and Tears
Scratches and tears can happen from moving furniture, dirt, or sharp objects. You should clean the damaged spot first. Light scratches may disappear if you rub them with a tennis ball or eraser. For deeper marks, use a scratch repair kit or vinyl floor sealant. If you see a tear, patch it with a vinyl floor patch kit. Replace damaged planks or tiles if the problem is large. Regular maintenance and inspection help you spot damage early and keep your floor looking new.
Alert: Protect your floor by lifting furniture instead of dragging it. Use felt pads and mats under heavy items.
If you follow each step, your floor will last longer. Getting ready, installing carefully, and cleaning often help your floor stay strong. These steps also keep your floor looking nice. The table below shows how each step helps your heterogeneous vinyl flooring last:
| Step | Description |
|---|---|
| Subfloor Treatment | Make sure the subfloor is flat, dry, and clean. |
| Detail Processing | Leave expansion gaps and finish edges for better durability. |
| Daily Cleaning | Use a dry or damp mop and remove dust quickly to prevent water damage. |
| Regular Maintenance | Wax and polish once or twice a year to help your floor last longer. |
If you do these steps, your floor will look good for a long time.
FAQ
How long does heterogeneous vinyl flooring last?
You can expect your heterogeneous vinyl flooring to last 10 to 20 years. The floor will last longer if you clean it often and protect it from heavy damage. Regular care keeps the surface strong and looking new.
Can you install heterogeneous vinyl flooring over old flooring?
You can install vinyl over some old floors, like smooth tile or concrete. The old floor must be clean, dry, and flat. Remove loose tiles or carpet first. Always check the manufacturer’s instructions before you start.
What should you do if water spills on the floor?
Wipe up spills right away. Use a soft cloth or paper towel. Quick action stops stains and keeps water from getting under the vinyl. Regular cleaning helps prevent water damage.
Do you need special cleaners for heterogeneous vinyl flooring?
You do not need special cleaners. Use a pH-neutral floor cleaner or a mix of water and white vinegar. Avoid harsh chemicals, wax, or ammonia. These can damage the finish and make the floor look dull.
Can you repair small cuts or scratches yourself?
Yes, you can fix small cuts or scratches. Use a vinyl repair kit or a matching sealant. For light scratches, rub with a tennis ball or eraser. Replace damaged planks if the problem is big.